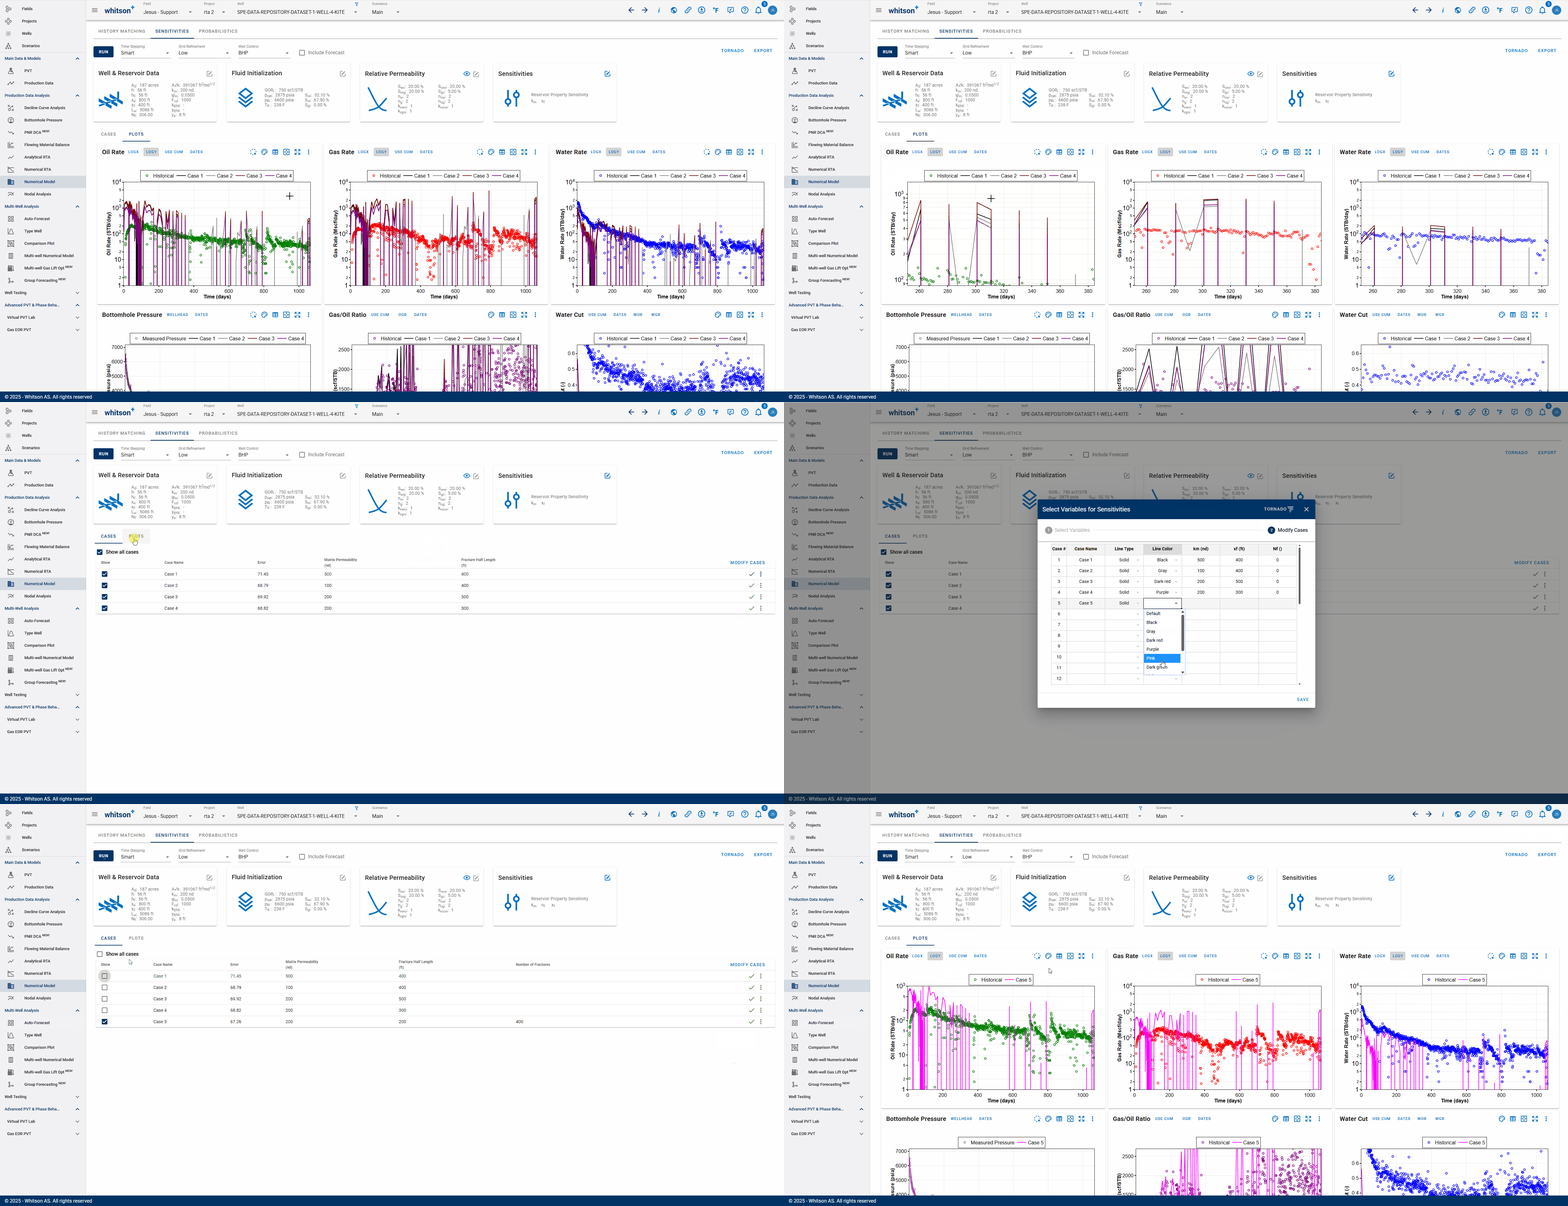
Reservoir Simulation - Sensitivities
This module enables user to perform sensitivity analysis on one or more variables at once.
1. Input
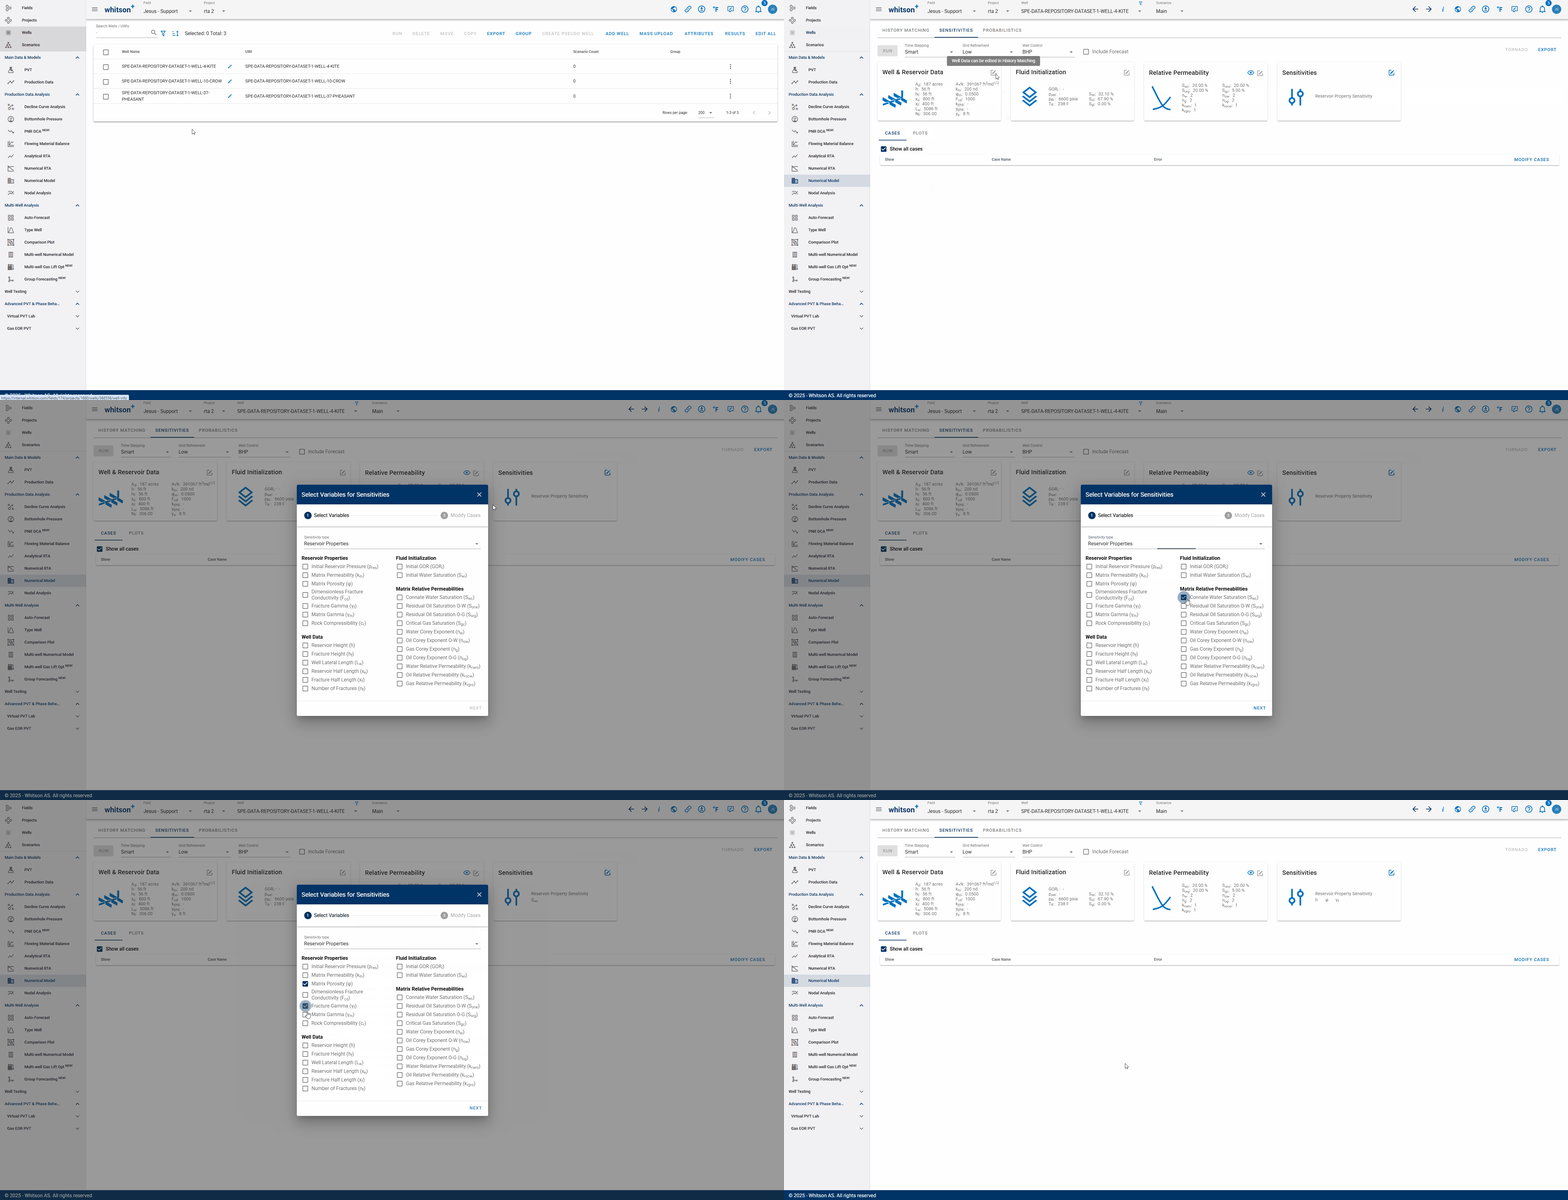
There are four input cards, namely:
- Well & Reservoir Data
- Fluid Intialization
- Relative Permeability
- Sensitivities
It is not possible to modify input cards other than sensitivities. This is done to ensure consistency of the input variables between modules. If one wishes to edit it, this can be done in History Matching module.
1.1 Sensitivity Variables
1.1.1 Reservoir Properties
In general, all changeable variables in history matching can be used as sensitivity variables. A minimum of one variable is required and can be added as many as desired. To do this, simply check the box next to the variable.
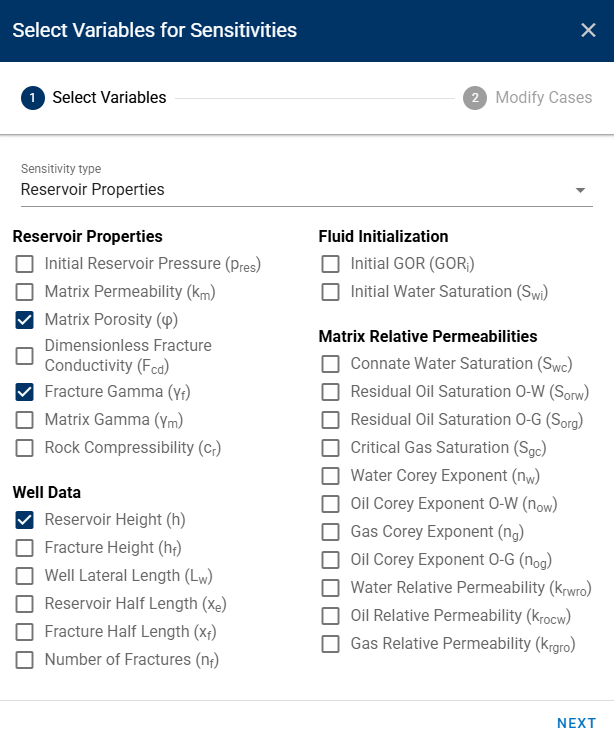
Fig. 1: Sensitivity Type: Reservoir Properties
If you recall, the Numerical Model section has the following toggles -
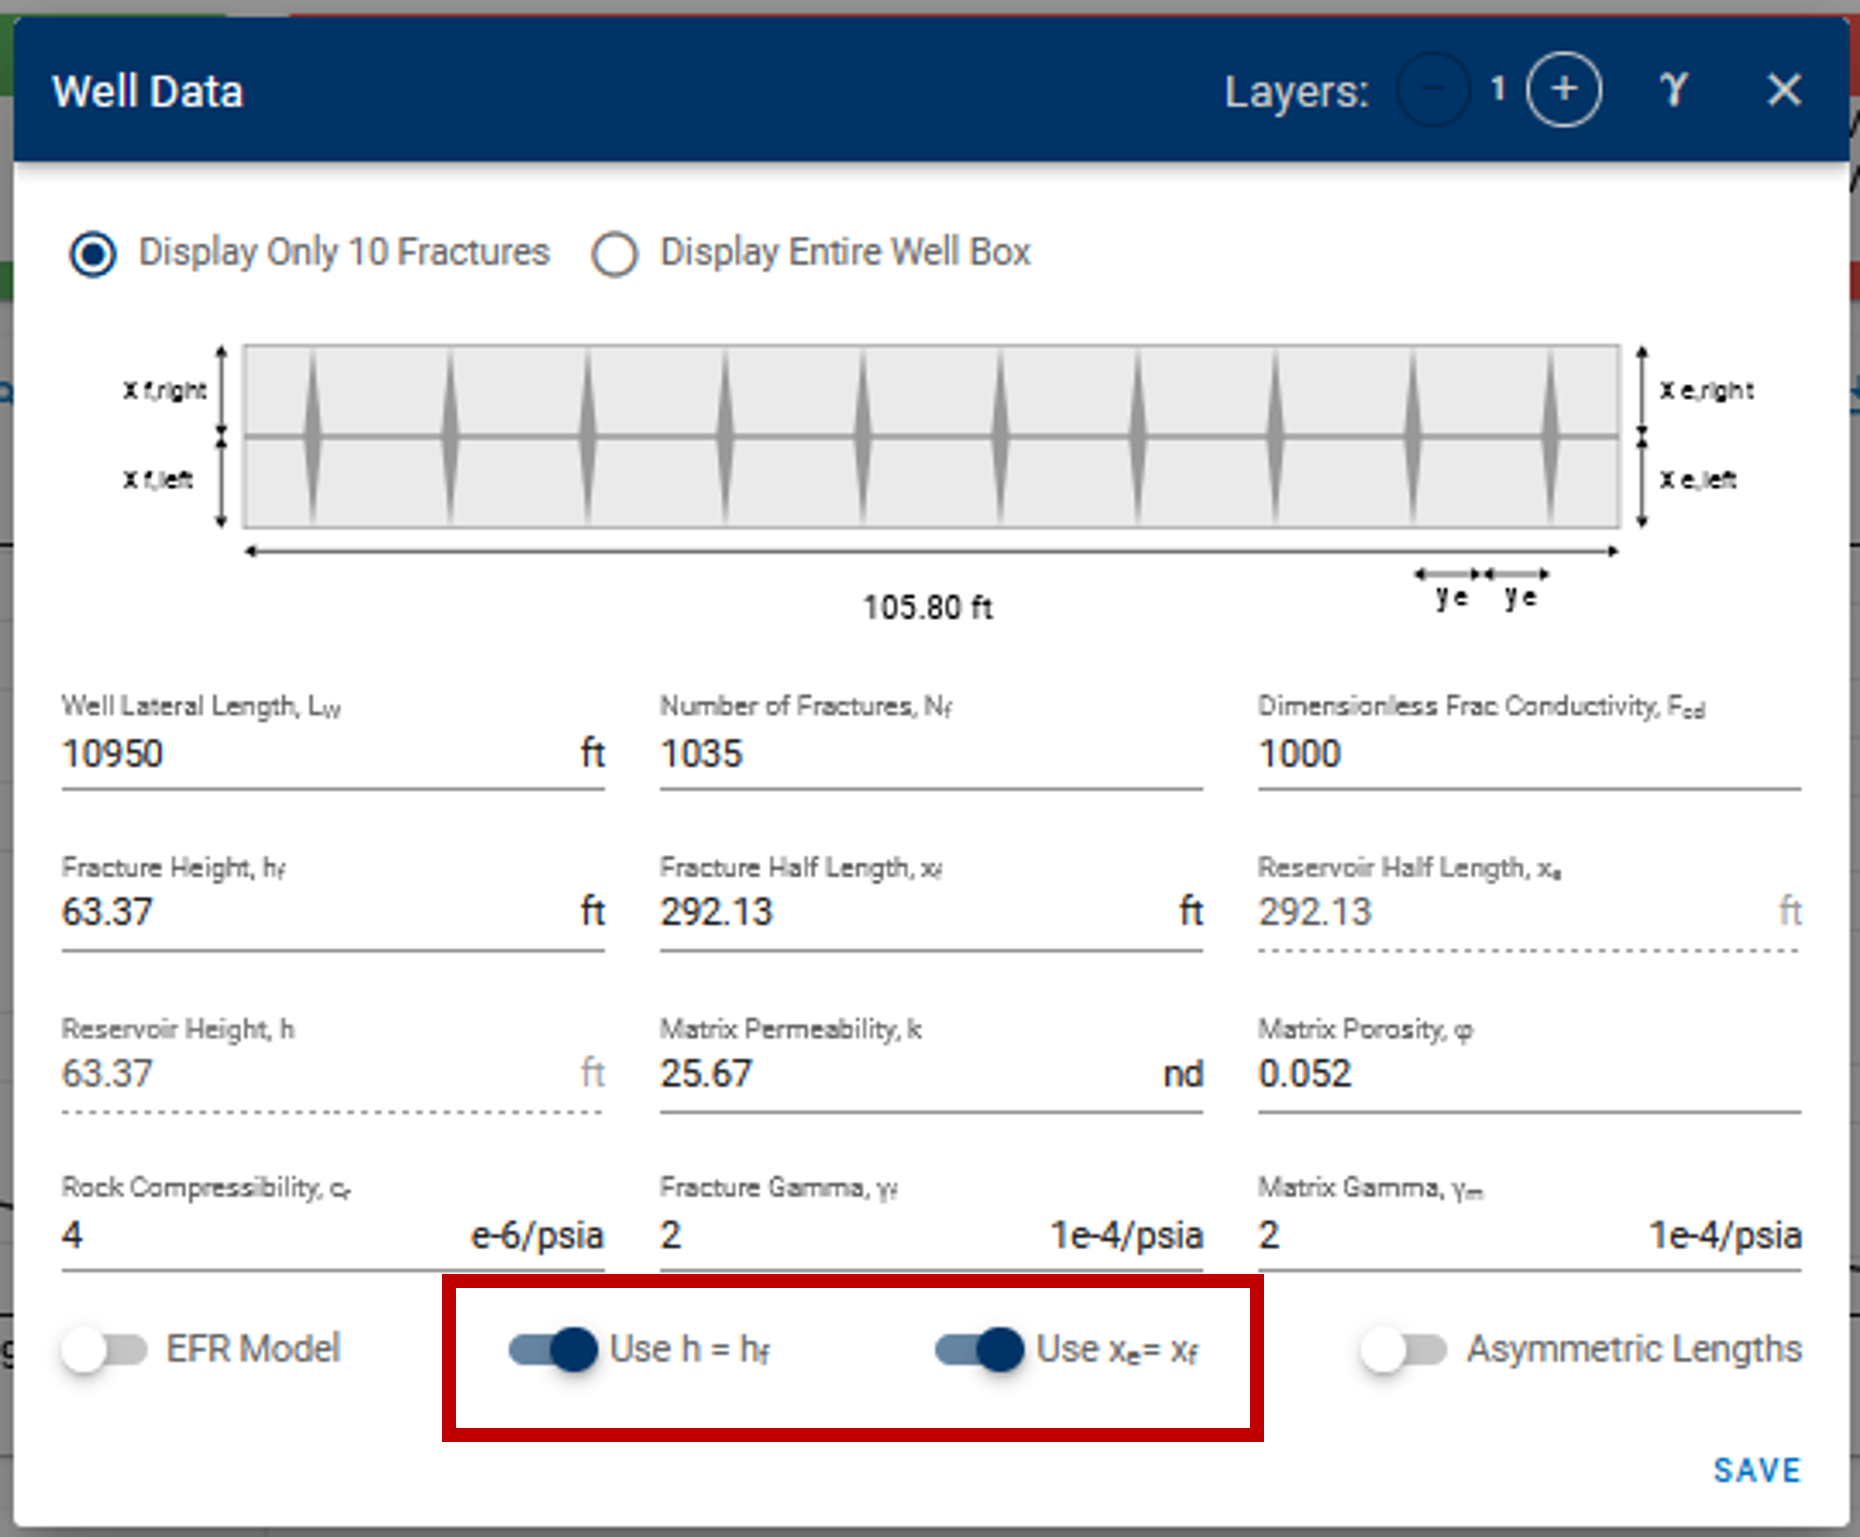
Fig. 2: Toggles for h and xe in numerical model settings
Here, if the toggles are switched on, the reservoir height and reservoir half-length are always enforced to be equal to fracture height (hf) and fracture half-length (xf) in all simulations - this includes simulation calls via cases in sensitivities and probabilistics.
The default behavior in the sensitivities feature when running sensitivities with xe (Reservoir half-length) and xf (Fracture half-length) -
- If you have xe=xf in the model (toggle is on) - Then any specified xe values are ignored for the given xf in sensitivities and xe is enforced to be equal to this xf in the sensitivity case. Base case xf is set as xe if xf is not provided.
- If you have xe not equal to xf (toggle is off) - Then specified values of xe are used, and if they are blank, the base case xe is used.
Essentially, sensitivities and probabilistics cannot override these toggles. To freely adjust xe and h, go to the history matching section and turn off these toggles on the Numerical Model card and click save before running sensitivities. Similar behavior when toggle is on/off for the other pair of variables - hf | h
1.1.2 Well Control
User can also choose well control to do sensitivity analysis instead of reservoir properties. This can be done by adding at least one case with input of initial and final BHP, time to minimum BHP and total simulation time.
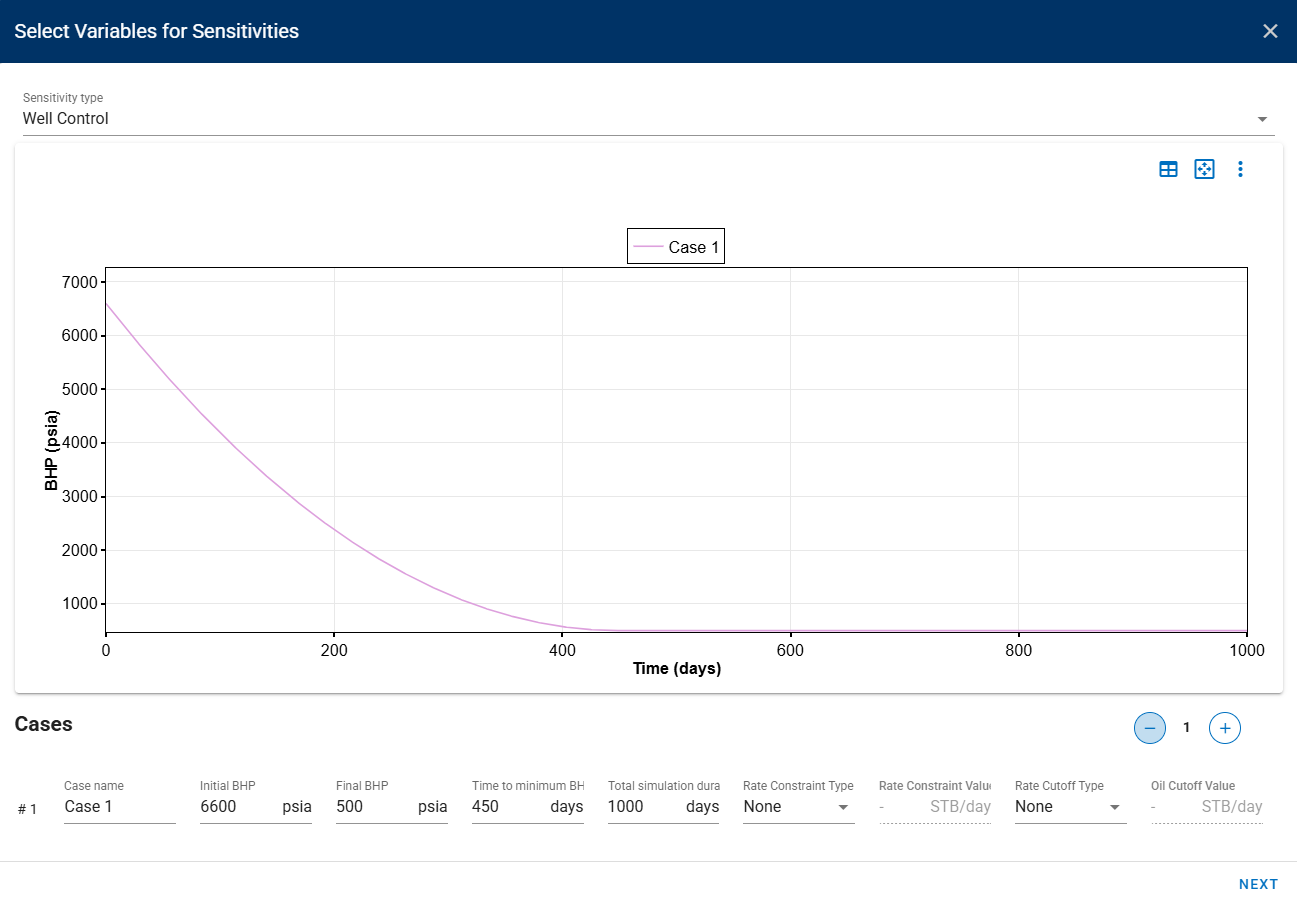
Fig. 3: Sensitivity Type: Well Control
1.2 Modify Cases
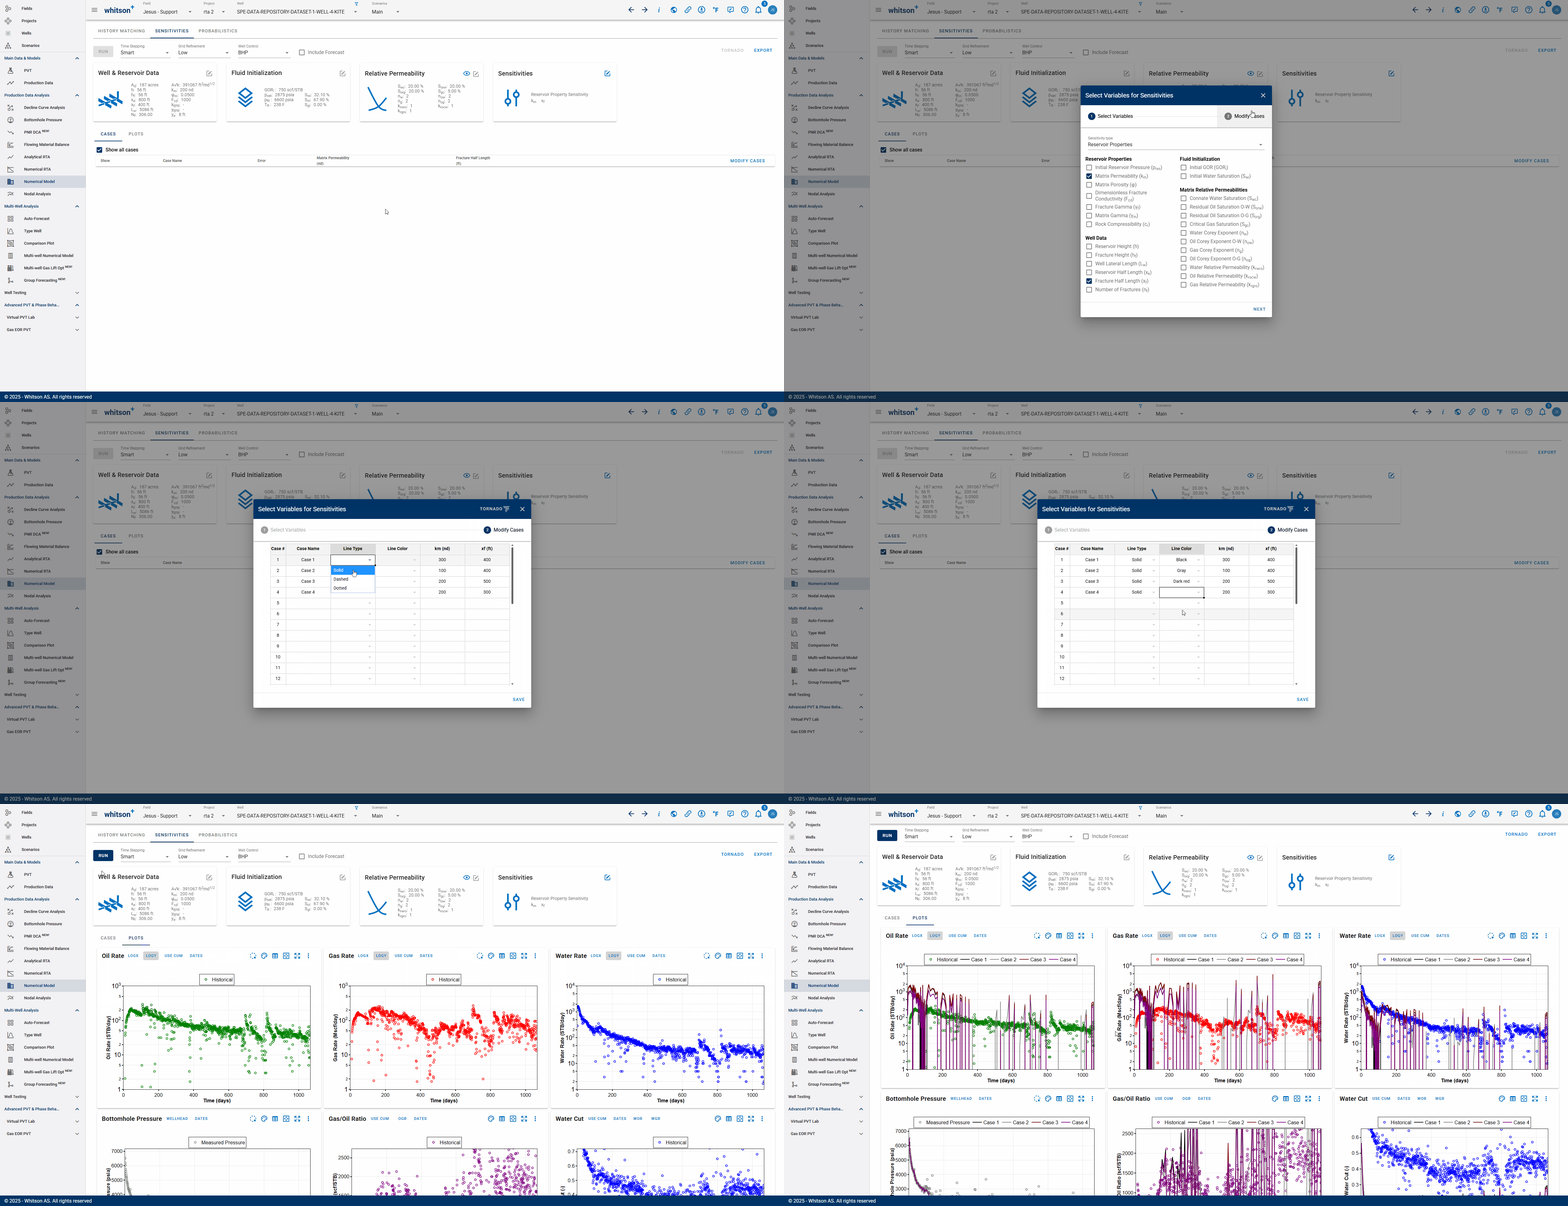
After sensitivity variables are chosen, one can modify each variable by clicking "Modify Cases" then "Save". To run, user can click three dots next to the case and click "Run Case" for individual run, or click "Run" button above the input cards.
2. Plot and Edit
All cases will be plotted automatically by default. To choose one or some of the cases, check or uncheck the show box for each case. Editting input can be done by clicking "Modify Cases" or "Edit Case". User has the ability to remove and/or add more variables to the sensitivity analysis.
